
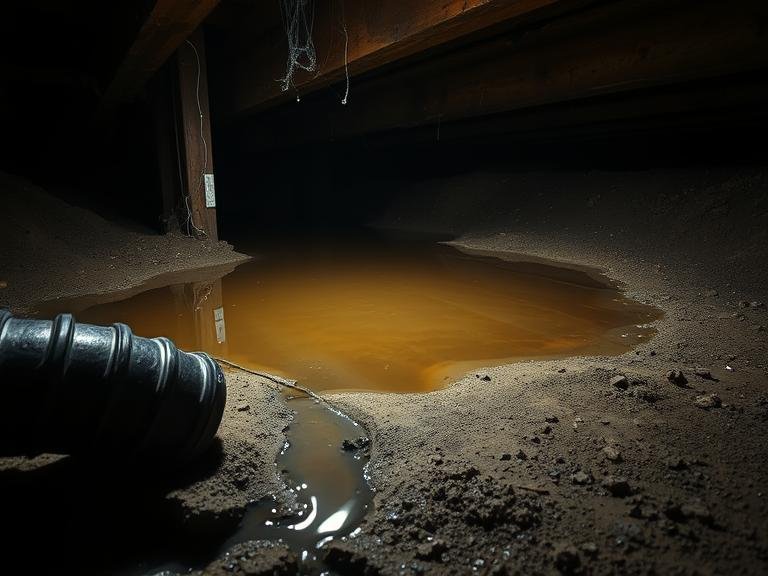
Water in Crawl Space: Beneath the familiar creak of your floorboards and the daily hum of household life lies a space most homeowners rarely think about: the crawl space. Out of sight, it often falls out of mind—until a musty odor begins to waft upstairs or a routine inspection reveals a dreaded, shimmering sight: standing water. Water in the crawl space is more than just a minor inconvenience; it’s a significant threat to your home’s structural integrity, air quality, and value. Understanding its causes, risks, and solutions is essential for any responsible homeowner.
Table of Contents
Why Water Invades Your Crawl Space
Water finds its way into crawl spaces through various avenues, often a combination of factors. Identifying the source is the critical first step toward a permanent solution.
- Surface Water Intrusion: This is the most common culprit. It occurs when water from rain or melting snow is not properly diverted away from your home’s foundation.
- Poor Grading: If the soil around your foundation slopes toward your house instead of away from it (a minimum of 6 inches over 10 feet is recommended), water will pool around the foundation and inevitably seep through porous concrete walls or cracks.
- Cluttered or Non-Functional Gutters: Gutters clogged with leaves and debris overflow, dumping massive amounts of water directly next to the foundation. Similarly, downspouts that terminate too close to the house accomplish the same thing.
- Plumbing Leaks: A less obvious but equally damaging source. A leaking water supply line, a faulty drain pipe, or a cracked sewer line within the crawl space can release a steady, damaging flow of water. These leaks require immediate professional attention from a plumber.
- High Humidity and Condensation: Especially in humid climates, moist outdoor air can enter the crawl space through vents. When this warm, humid air comes into contact with the cool surfaces of foundation walls, plumbing pipes, or HVAC ducts, it condenses into liquid water droplets. This process can create a damp environment that mimics the effects of a active leak.
- Hydrostatic Pressure: This is a more advanced geological force. When the water table (the level of saturated ground) rises after heavy or prolonged rain, it creates pressure against your home’s foundation walls and floor. This pressure, called hydrostatic pressure, can force water through even hairline cracks, resulting in seepage and puddling.
The Multifaceted Risks of a Wet Crawl Space
Ignoring a wet crawl space is a gamble with high stakes. The consequences extend far beyond the space itself.
- Structural Damage: Your home’s wooden skeleton—floor joists, beams, and subflooring—resides in the crawl space. Persistent moisture leads to wood rot, compromising the strength of these critical components. Over time, this can lead to sagging, bouncy floors above and, in severe cases, catastrophic structural failure.
- Mold and Mildew Proliferation: Mold spores are everywhere, but they require moisture to grow. A damp crawl space provides the perfect incubator. Mold colonies can spread rapidly across wood, insulation, and belongings stored below. According to the EPA, exposure to mold can cause a host of health issues, including allergic reactions, asthma attacks, and respiratory problems.
- Poor Indoor Air Quality: The “Stack Effect” describes how air naturally rises from the lowest point of a home to the highest. Air from your crawl space, laden with mold spores, mildew odors, and potentially harmful bacteria, will rise through the floor and into your living areas. This can significantly degrade the air you and your family breathe, exacerbating allergies and asthma.
- Pest Infestations: Insects and rodents are attracted to dark, damp environments. Termites and carpenter ants feast on moist, rotting wood. Mosquitoes breed in standing water. A wet crawl space is an open invitation for these destructive and unsanitary pests.
- Reduced Energy Efficiency: Wet insulation clinging to ducts or between floor joists loses its R-value (its ability to resist heat flow). Your HVAC system will have to work harder to heat or cool your home, leading to higher energy bills.
- Decreased Property Value: A wet crawl space is a major red flag for home inspectors and potential buyers. It can derail a home sale and drastically reduce your property’s market value.
A Step-by-Step Approach to Mitigation and Prevention
Addressing water in crawl space is a multi-phase process: removal, drying, remediation, and prevention.
1. Identify and Stop the Source:
Before any cleanup can begin, you must determine where the water is coming from. During dry weather, this might be a plumbing leak. During wet weather, it’s likely surface or groundwater. Fix faulty plumbing immediately. For external water, ensure your gutters are clean, downspouts extend at least 6 feet from the foundation, and the soil grading slopes away from your house.
2. Remove Standing Water:
For significant pooling, you may need to use a pump. A utility pump or a submersible pump can efficiently remove several inches of water. For smaller amounts, a wet-dry vacuum is sufficient. Remember, safety first: ensure all electrical connections are away from water and wear protective gear.
3. Dry the Area Completely:
Simply removing standing water isn’t enough. The remaining moisture in the air and materials must be addressed to prevent mold.
* Ventilation: Use high-powered fans to circulate air throughout the space. Opening crawl space vents can help, but only if the outdoor air is less humid than the indoor air.
* Dehumidification: This is the most effective method. Place a heavy-duty dehumidifier designed for crawl spaces or basements in the area and let it run until humidity levels are consistently below 60%.
4. Clean and Sanitize:
Once dry, any affected surfaces should be cleaned to remove dirt, silt, and the beginnings of microbial growth. A mixture of water and bleach (or a dedicated mold-cleaning solution) can be used on non-porous surfaces. Severely moldy insulation or irreparably damaged wooden elements should be removed and replaced.
5. Implement Long-Term Prevention Solutions:
This is the most critical phase to ensure the problem doesn’t return.
* Vapor Barrier: Install a robust, Class 1 vapor barrier (a thick polyethylene liner) on the crawl space floor and extend it up the foundation walls. This physically blocks moisture from evaporating from the soil into the space. Seams should be overlapped and sealed with waterproof tape.
* Encapsulation: This is the gold standard. It involves sealing the crawl space completely from the outside environment. The vapor barrier is installed, vents are sealed, and the space is conditioned with a dehumidifier. Encapsulation creates a clean, dry, and energy-efficient area.
* Interior Drainage and Sump Pump: For homes with chronic hydrostatic pressure issues, an interior French drain system that channels water to a sump pit may be necessary. A sump pump with a battery backup will then automatically pump collected water out and away from the foundation.
Knowing When to Call a Professional
While minor dampness from a single incident might be a DIY project, significant or recurring water issues require expert intervention. Call a professional foundation or waterproofing contractor if:
- The water source is not immediately identifiable.
- There is extensive standing water.
- You see significant mold growth or smell a strong, musty odor.
- There is visible damage to structural wood members.
- Your DIY efforts have not solved the problem.
Informational FAQs
Q1: Is a little bit of water in my crawl space normal?
A: No. Any amount of standing water or consistent dampness is abnormal and indicates a problem with drainage, plumbing, or ventilation. It should be investigated and addressed promptly.
Q2: Will my homeowner’s insurance cover damage from water in the crawl space?
A: It depends entirely on the source of the water. Insurance typically covers sudden and accidental events, like a burst pipe. It almost always excludes damage from flooding (requiring separate flood insurance) and long-term neglect or maintenance issues like gradual seepage due to poor grading.
Q3: How much does it cost to fix a wet crawl space?
A: Costs vary wildly based on the solution. Simple fixes like regrading or adding downspout extensions cost very little. Installing a vapor barrier may cost a few thousand dollars. A full encapsulation with a dehumidifier and a sump pump system is a significant investment, often ranging from $8,000 to $25,000+, but it provides a permanent solution.
Q4: Should my crawl space vents be open or closed?
A: This is a topic of debate. Traditional building code required vents to allow moisture to escape. However, modern building science shows that in humid climates, open vents actually let more moist air in, exacerbating condensation problems. In most cases, as part of an encapsulation strategy, vents are sealed shut, and the space is dehumidified. The best answer depends on your climate and the condition of your crawl space.
Q5: How can I check my crawl space for water if I don’t want to go under there?
A: Look for indirect signs: a musty smell in the house, increased allergy symptoms, warped or buckling hardwood floors above, or seeing excessive insect activity. For a direct look, a small, affordable inspection camera (boroscope) can be snaked through a vent to get a visual without entering.